


Included in the kit: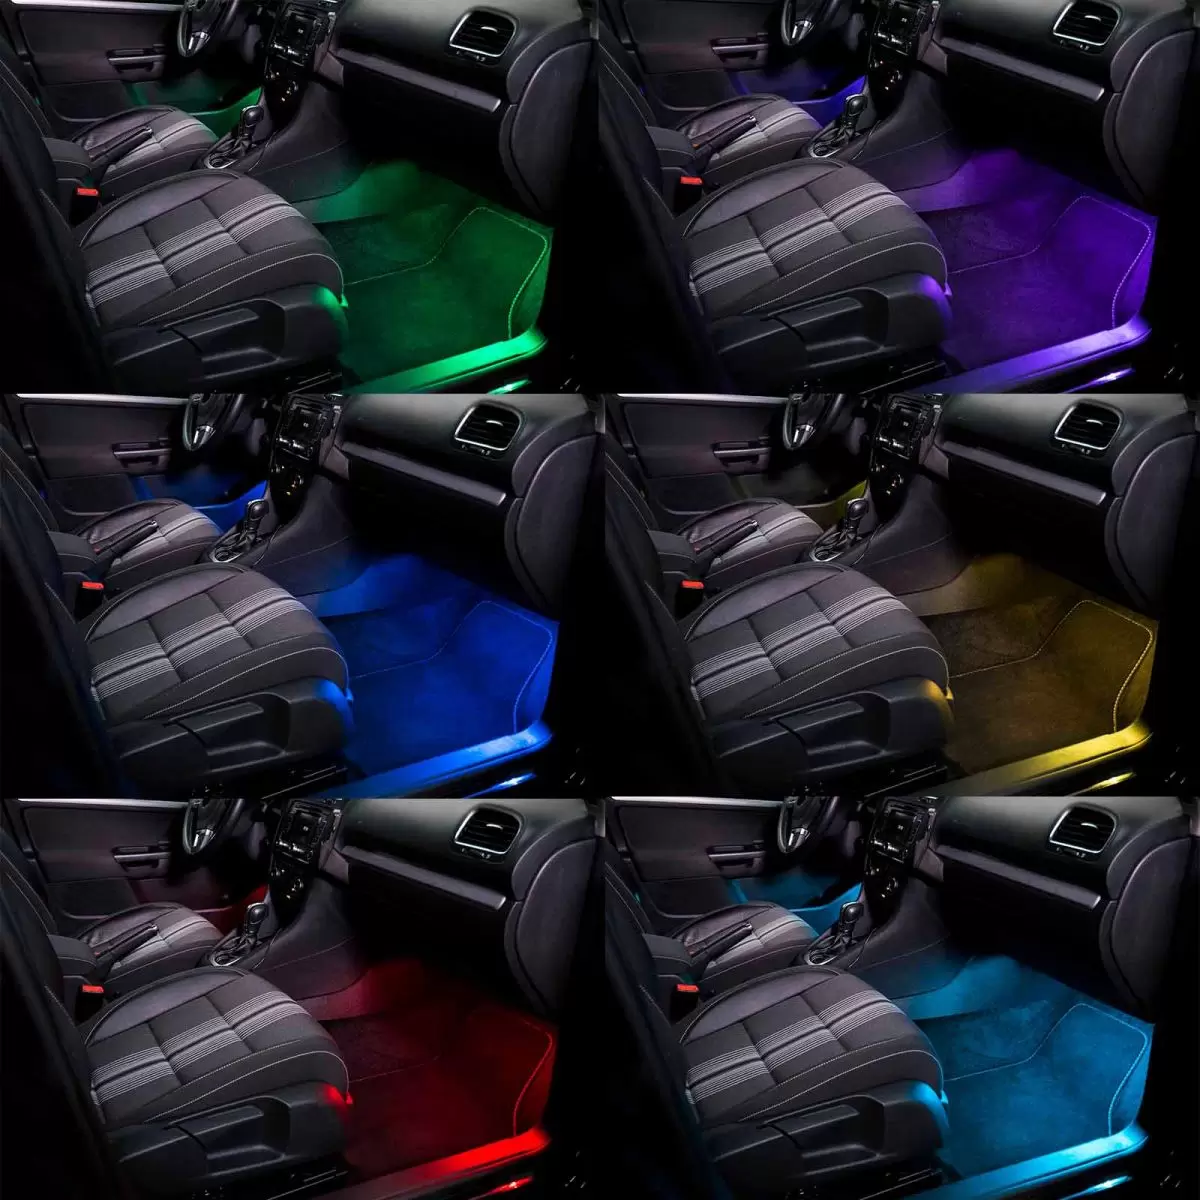
- Smart control unit
- Two 30cm LED 90lm strips with adhesive tape
- Two 1m cables
- Splitter, 1-2
- Car adapter
- Two try-me harnesses
- Two double-sided VHB foam tape pieces
- Two alcohol pads
- User instructions
- Choose a spot where you would like the LEDambient TUNING CONNECT kit to be positioned. Choose a central position to mount the control unit, leaving room for cables. It is recommended that you avoid mounting to moving parts, such as a glove box, AC vents or airbags.
- Assemble all the cables for a trial run, to make sure everything fits the way you'd like. Use the splitter from the control box if you need it for your layout.
- When you connect your device, the TUNING lights will go through one full colour cycle.
-
 Now that you've planned your layout and everything is working, you're ready to mount the kit. Use the alcohol wipe included in the kit to clean the surfaces you're attaching the kit to. Make sure the areas are completely dry before continuing.
 - Connect the cables to the LED strips. Make sure you align the plus and the arrow symbol.
- Cut the adhesive tape (if needed), and press it against the four pin connectors to make sure they stay in place. Now, position the LED strips and attach to the area. If the temperature is below 10 degrees Celsius, warm the mounting area and and the adhesive tape of the LED strip with a hairdryer on the low setting. When securing the strip, apply light pressure for 20 seconds.
- Mount the control box out of sight using more of the adhesive tape. Tuck the wires away where needed.
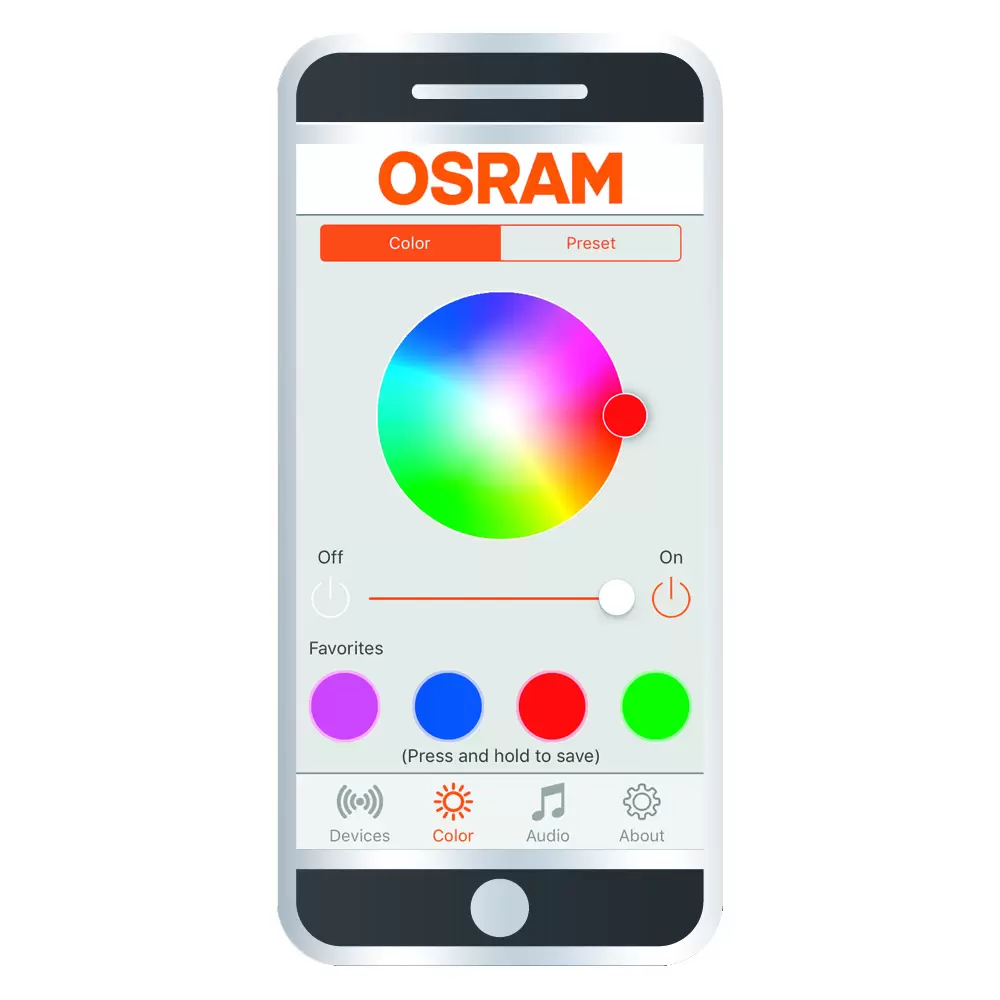
- Plug the power cable into the cigarette lighter or a 12V accessory jack. Open the LEDambient CONNECT app (you can download this for free). You'll be able to control the lights using this. If you're more familiar with the electronics of the car, the kit can be hard-wired into the electrical system.
- Test your lights to see if all functions run smoothly.
And that's it! In no time you'll have a distinctive interior that looks the bee's knees!


 Close
Close