


 You will need:
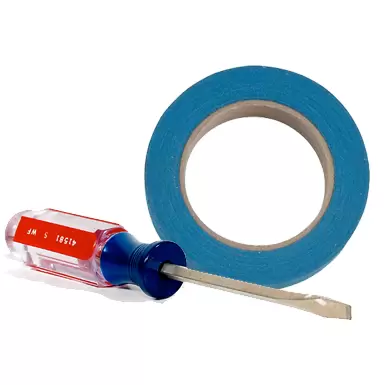
- A screwdriver or two (flat head and Phillips head)
- Masking tape (preferably coloured so it's easy to see)
- A flat surface (like a wall)
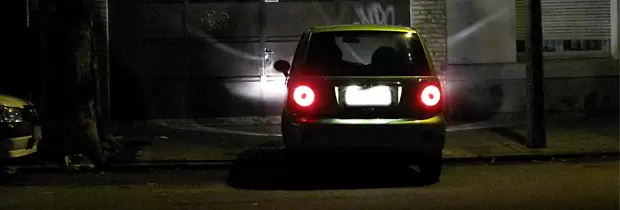
Step 1: Perfect parking
Firstly, you need to get your car into position. Park it a few feet away from the wall or flat surface you'll be using. Ideally you need to be as close as possible to the flat surface while still being able to easily walk between the two. Now turn on your headlights and you should be able to see two distinct dots on the wall. Make sure the wall you use has enough room for you to roll back approximately 30 feet as you will need to do this in the next step.
Step 2: X marks the spot!
Dig out a roll of masking tape (the brighter the better so that it stands out), and use it to mark a cross in the centre of the two beams on the wall. Try to get the crosses as close to the centre of the beam as possible. Now, connect the two crosses with a strip of masking tape all the way across. If your car uses the same bulb for the high and low beam you only need to do this once, but if you have separate bulbs for each function repeat the step and mark two more crosses with a connecting line. You now need to move your car backwards, so you are positioned about 30 feet away from the wall.
Step 3: Under the bonnet
Now it's time to get under the bonnet and locate your aiming screws. The aiming screws are located in the headlight housing and control the light beams' position. Hopefully, your aiming screws will be easy to find, as they should be longer and tend to stick out more than the others. If you can't find these screws, it's probably best to head down to your local auto-electrician for advice.
Step 4: The aim of the game...
...is to have perfectly aligned headlights! If you've located your aiming screws, it's really not difficult to align your headlights and get it 'spot on'. First, check that the headlight on the passenger side falls directly in the centre of the cross. Turn the screw left, right, up and down until this is perfect (if it isn't already). The driver's side is a little bit more complicated. Try to align the headlight so that the centre of the beam falls about 1/4 of the way towards the passenger sides' cross (using your strip of masking tape as a guide), so as to not blind oncoming traffic. If your car has dual beam, simply repeat this step in the exact same way.
Step 5: Enjoy!
Enjoy driving at night safe in the knowledge that your headlight bulbs are aligned to perfection!


 Close
Close