


 How do I know if I need to restore my lenses?
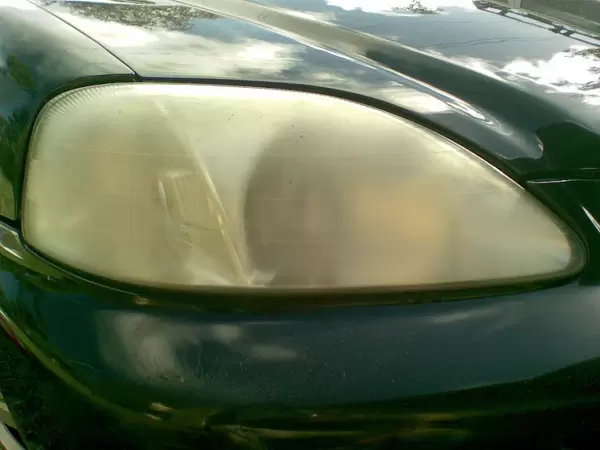
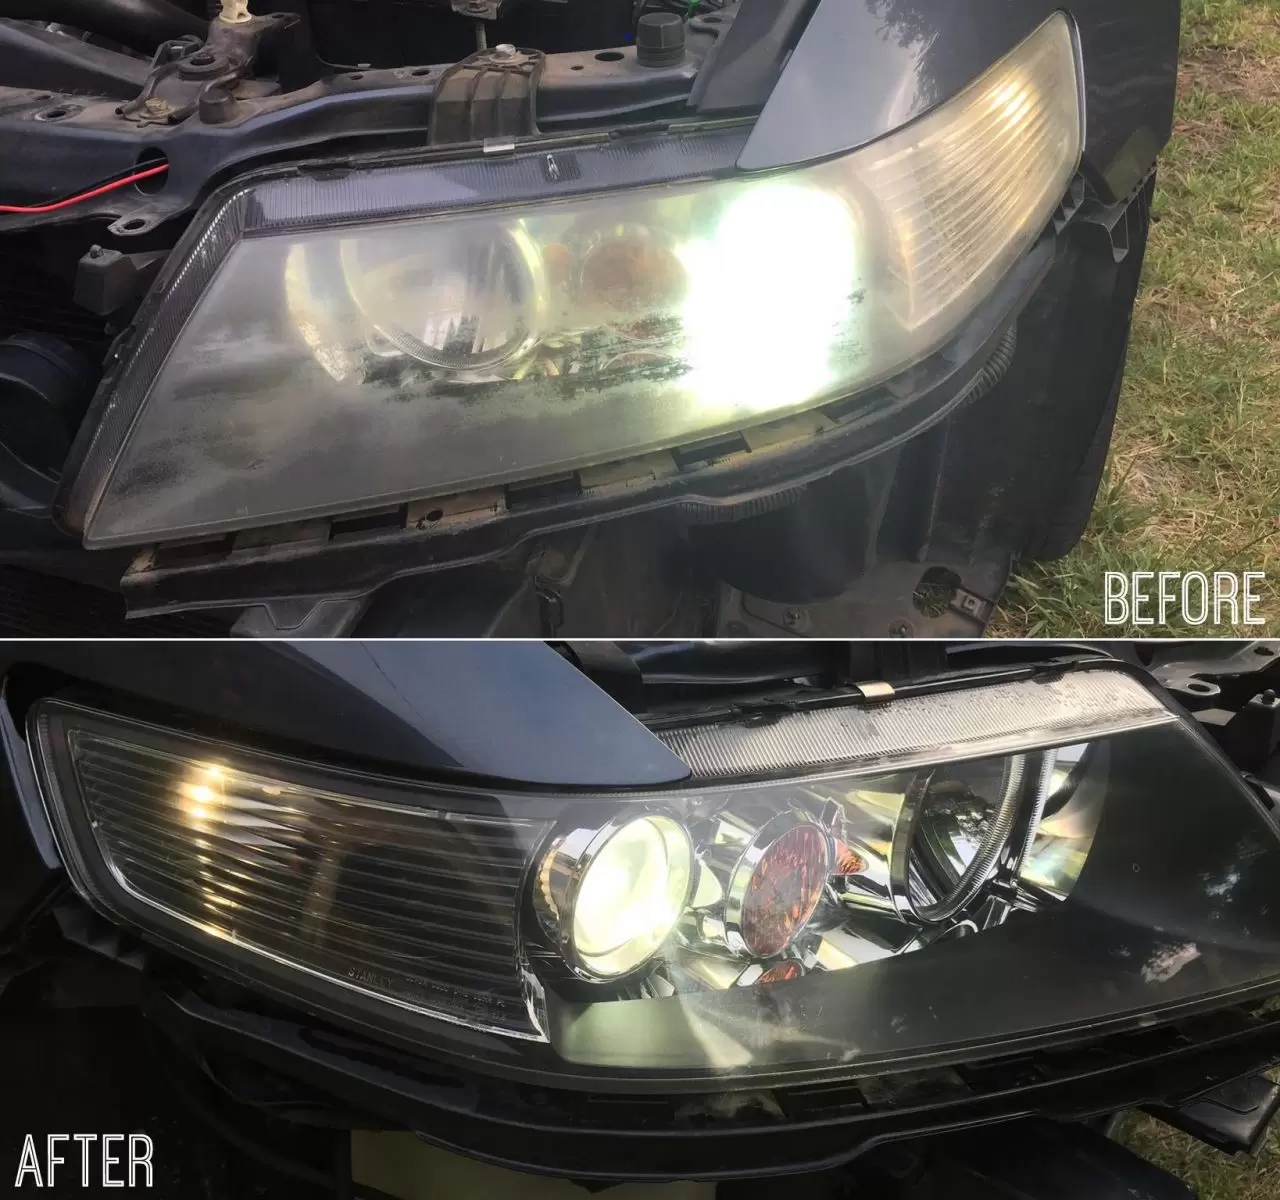
Over time, your plastic lenses are subject to lots of wear and tear. Sunlight, gravel and other debris, and even the elements can affect your headlight lens.
Have a quick look at your headlights (with your lights switched off – don’t blind yourself!). Do they look cloudy, dull, yellowed or scratched? If they do, then it’s definitely time to give them a little TLC.
This isn’t just for cosmetic reasons. Your bulbs will also struggle to shine through the damage on your headlight lenses, meaning that you may think your bulbs aren’t as bright as you expect. You could end up changing your bulbs too early, costing you money and effort in the process. Damaged lenses can also cause your car to fail its MOT. You want to restore that crucial night time visibility, as well as give your car’s appearance a refresh.
There’s a few ways in which you can do this. If your lenses only have very light wear and tear, you can use some home remedies to help prevent any further damage. If your lenses are scratched as 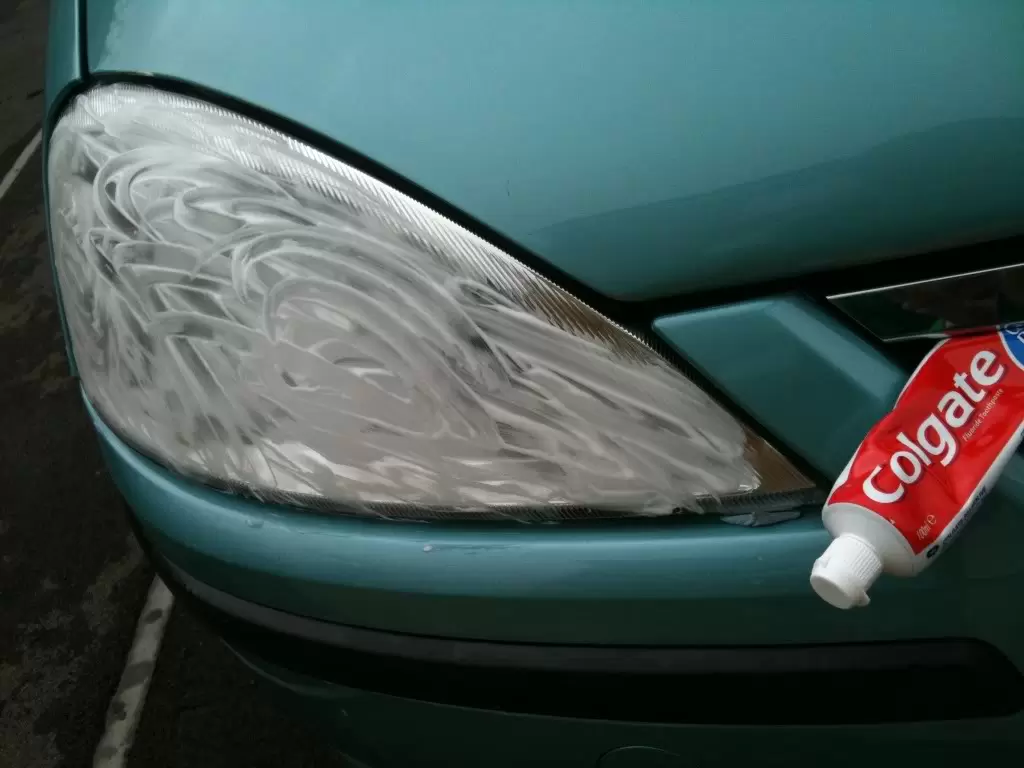 well as cloudy and yellowed, you can pick up a headlight restoration kit. These kits contain specialist cleaning materials that can penetrate the damage on your headlight, bringing back their former shine.
Toothpaste
You can give a minty sparkle to your lights by restoring your lenses with toothpaste. We know it sounds weird, but toothpaste has gentle abrasion properties. Plus, we’ve heard that headlight lenses oxidise in a similar way to plaque growing on teeth…
Toothpaste will work wonders on lightly cloudy lenses that don’t need an intense level of buffing.
How to restore headlights using toothpaste
- Use a general, bog-standard toothpaste – avoid any with crystals or extra cleaning agents in, as these may scratch the lens.
- Apply a small amount to a cloth and begin to firmly polish the lens in circular motions until you see an improvement.
-
When you’ve achieved the desired results, give your headlight a thorough clean and polish.
Baking soda and vinegar
You may have used this winning combination before as a general household cleaner, but it also works wonders on your lightly cloudy lenses, too. This mixture works in the same way as toothpaste does: helping to reduce and polish away any dullness on the headlights to improve your visibility on the road.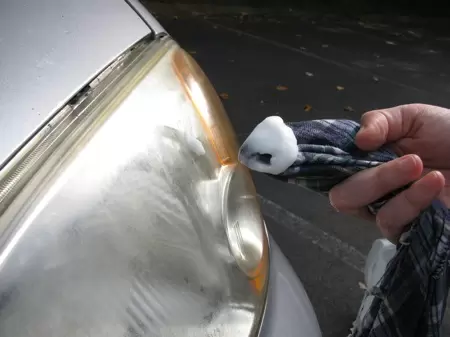
How to restore headlights using baking soda
- Make sure the headlight is clean and dry
- Use a cloth dipped in the mixture to firmly rub the lens in circular motions until the damage disappears.
-
Finish with a final clean and polish and you’re good to go!
Restoration kits
If your headlights are looking scratched as well as dull and cloudy, you’ll need more than a minty scrub to get them back to their best. Luckily, there’s an easy solution: a restoration kit. These inexpensive kits are simple to use and provide fantastic results.
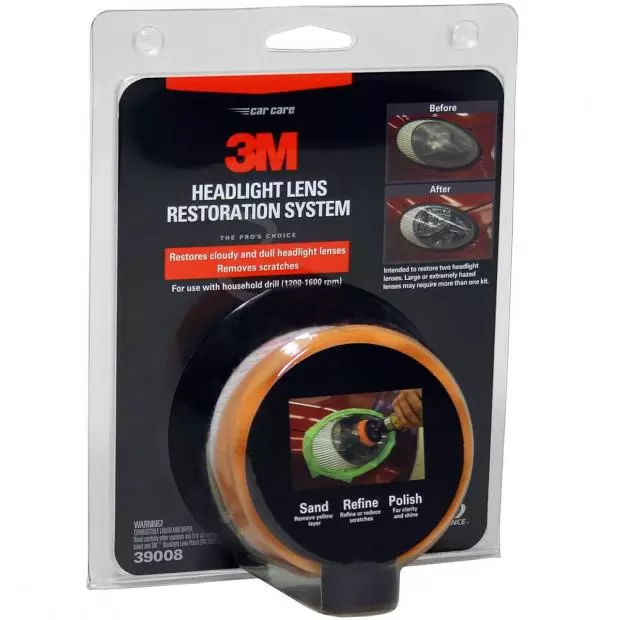
There’s a few different types of restoration kits on the market. One of our most popular is the 3M Headlight Restoration Kit. This kit uses the power of a household drill to buff even those stubborn scratches.
Included in this kit is masking tape, Rubbing Compound, three different textures of abrasive disc, and an orange foam compounding pad. You’ll need to add protective eyewear, gloves and dust mask, a spray bottle filled with water and a household drill (1200 – 1600 rpm).
How to use the 3M Headlight Restoration Kit
- Make sure the headlight is clean, and you’ve applied masking tape around the edges of the lenses to protect your paintwork.
-
 Mount the P500 grit Abrasive Disc (the gold one) to your drill. Use a light to medium pressure to sand the lens in a back and forth motion. You’re aiming to remove all glossy parts of the lens, ending up with a frosted effect.
 - Swap the disc to the P800 (the white one) and use the same technique to sand the lens again. Wipe the lens after each pass to remove any residue. After this step, the scratches should be even finer than before.
- Dampen the P3000 foam disc and the lens surface, and sand again. On this step, you want to keep the lens and the disc moist, so make sure to keep spraying when needed. When you see a white residue, you’re looking to continue for another 4-6 passes over the headlight. This should have removed all imperfections to the lens.
- Now, it’s time to polish. Use the orange foam pad and the sachet included in the kit with the drill to polish the lens. This will improve the clarity and give your headlights a stylish shine.
Now you’ve seen how easy it is to get your headlights looking their best, it’s time to take action on your own noble steed. Let us know if you have any tips on headlight restoration. We’d also love to see your before and after photos if you’ve used any of these methods!
.png)
.jpg)


 Close
Close